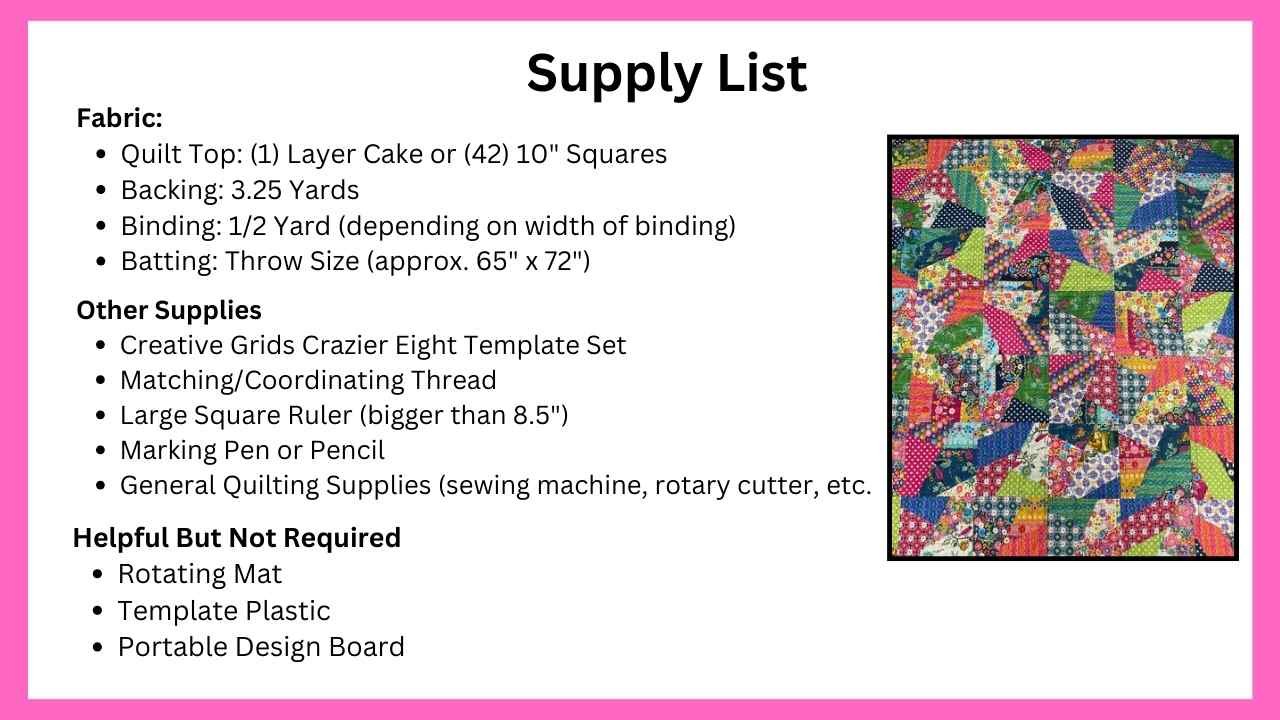
Just One Layer Cake Crazy Quilt
When I saw this fabric, I knew exactly what I wanted to make with it—a crazy quilt! This fabric looks like embroidery. How cool is that? It is bright, whimsical, loud, and a bit crazy. It checks all the boxes when it comes to making a crazy quilt.
Quilt Size: Approx. 45.5” x 53”
Block Size: Unfinished: 8” and Finished: 7.5”

For a full tutorial, click here or click on the image above.
A big THANK YOU to Missouri Star Quilt Company for sponsoring this video and sending me all kinds of goodies so I could make this quilt.
Please Note: Missouri Star Quilt Company will be reevaluating and reorganizing their affiliate program over the next few months, and therefore, they will not be honoring discounts for my link nor will they be offering commission on my link. I am disappointed with this, but understand that in business, this sometimes happens. I want to thank you ALL for all the support you have given me this year! I really appreciate it! Because of this, I no longer have the link mentioned in this video. Thank you for your understanding!
Layer Cake: Vintage Soul by Cathe Holden for Moda
Navy Floral: Ditsy Floral Horizon
White Floral: Ditsy Floral Rainbow
Backing Fabric: Potholders Horizon Navy
Navy Blue Fabric: Swiss Dots by Riley Blake Designs
Template Set: Crazier Eight by Creative Grids
Step 1: Make Sets of Five Fabrics
Before cutting anything out, I like to work in sets of five 10” square because I shuffle the pieces once they are cut, giving me a good selection. You can, however, cut them all at once. This is up to you. I like to pick five fabrics that contrast for each set. Please note: because this quilt uses (42) squares, you will have to adjust for those final two blocks. I will either have two fabrics in one block (not a big deal) or shuffle some between sets to make the difference.
Step 2: Cutting the Blocks
If you make this using a layer cake like I did, you will need to slice the layer cake in half at a specific angle. To do this, the ruler directions tell you to measure up on the left side 6.75” and mark a dot. On the right side, measure up 2” and make a dot. With a ruler, connect the dots and cut.
Because I had to many cuts to make, however, I decided to make a template for this step. It worked perfectly!
Step 3: Cutting Out the Crazy Quilt Pieces
Once you have 10” squares sliced, it is time to cut out your pieces. Templates A, B, and C are on the top part of the 10” square section and templates D and E go on the bottom section. Working with one template at a time, cut out the units, making sure to cut the notches that are on the templates. This will help with sewing the units together.
I organize these units by clipping them to a piece of card stock cut to the same shape as the template. This helps me keep them organized and in the same order.
Step 4: Let’s Shuffle!
Now that all of the pieces are cut out of the five blocks, it is time to shuffle! Lay them out as they are stacked. Take the top layer of unit A and put it on the bottom of that A stack. Next, take the top TWO fabrics from the unit B stack and put them on the bottom of the Unit B stack. Next, take the top THREE from Unit C’s stack and put them on the bottom of the Unit C stack. For the Unit D stack, take the top FOUR and put them on the bottom of the stack. For the Unit E stack, don’t do anything. This ensures that each block in your stack will have each of the five fabrics in it without duplicates.
Step 5: Sew Them Together
To make the block, you will sew the top pieces to each other (A, B, and C), making sure the notches are lined up and that you are using a 1/4” seam allowance. Once the top unit is sewn, press it well. Note: It doesn’t matter which direction you press it; there aren’t any intersecting seams. You can also press the seams open, if you’d like. Sew the bottom pieces together (D and E) and press. Next, sew the A-B-C unit to the D-E unit. Press well and square up the block to the desired size.
The directions say the blocks should measure 8.5”, but I didn’t have good luck with that at all. I trimmed mine down to 8” to ensure they would all be the same size. This is one of the many advantages of making a crazy quilt block! :)
Step 6: Finishing the Quilt
Layout the 42 blocks in seven rows containing six blocks each. The finished quilt size will be approx. 45” x 53”. If you would like a bigger quilt, you can add borders or add blocks. Here is a list of how many blocks you will need for a few sizes. Let me know if you would like the other sizes. Happy to help!
Baby: 37.5” x 45” = (30) 10” Squares or Less Than One Layer Cake
Twin: 67.5” x 90” = (108) 10” Squares or Three Layer Cakes (You will have extra fabric/blocks)
Queen: 90” x 105” = (168) 10” Squares or Four Layer Cakes
King: 105” x 120” = (224) 10” Squares or Six Layer Cakes (You will have extra fabric/blocks)
Happy Quilting!
Kris