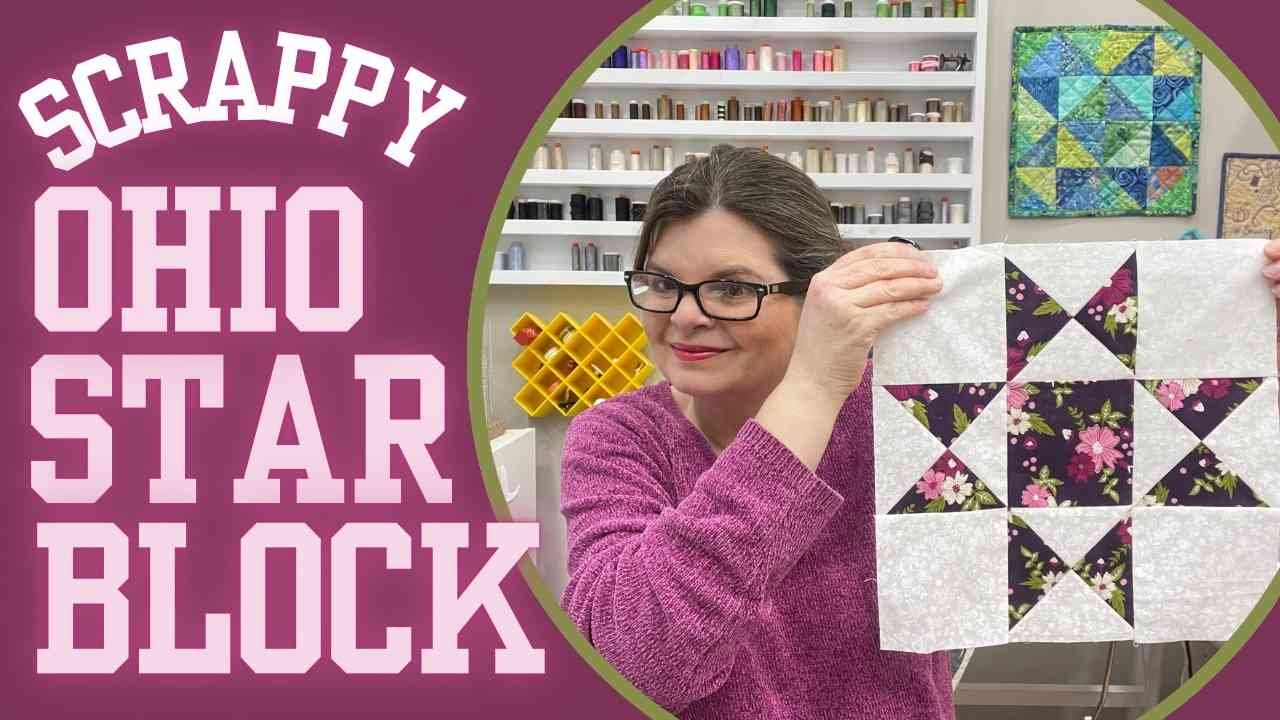
Ohio Star Quilt Block Tutorial
Click HERE to see the video tutorial or click on the image.
I love how a few hourglass blocks and squares can come together to create such a bold, starry effect. Plus, it’s a great way to use up some of those fabric scraps (because let’s be honest, the scrap pile never seems to shrink, no matter how many projects we make!). In this post, I’ll walk you through the step-by-step process of making an Ohio Star block, sharing some tips along the way to keep things fun and frustration-free. I also have a video tutorial on this block. If you are interested, And lastly, I have this as a pattern in my shop. Here’s a link to it: Ohio Star Quilt Block Pattern
This tutorial is inspired by an antique Ohio Star quilt that I purchased at an auction. If you want to know more about the inspiration quilt, check out the Lessons from an Old Quilt video HERE and the blog on it HERE.
So, grab your fabric, fire up that sewing machine, and let’s get started!


Step 1: Making Half-Square Triangles
Are you thinking, “Wait! I thought we were making hourglass blocks?” The answer is YES! But we are going to start with two-at-a-time half-square triangle blocks. It will all make sense in a minute. :)
To make these, gather (2) print 5.5” squares and (2) background 5.5” squares. Place (1) print square right sides together with (1) background square. Repeat with the second set.
On the back of the lighter square, draw a diagonal line from the top corner to the opposite bottom corner. We will be sewing 1/4” on each side of the drawn center line. I like to mark these, but you do not have to. Repeat for the second set.

Step 2a: Finish Half-Square Triangle Blocks
Next, set we set our seams by placing the iron on the sewn lines. Trust me here—it really does make all the difference! After we set our seams, we cut on the middle drawn line on both sets, making four half-square triangles.

Step 2b: Press Half-Square Triangles
Next, open and press the four half-square triangles to the darker fabric. It doesn’t matter which side is darker (the background or the theme fabric), just make sure to be consistent.

Step 3a: Make Hourglass Blocks
Gather (2) half-square triangle units completed in Step 2b. With right sides together, place (1) half-square triangle on top of the other with opposite colors together facing each other, as shown, making sure the print or theme fabric is against the background fabric. Since the seams were both pressed in the same side, these blocks should lock or nest into place nicely Make sure they are lined up. Repeat with the second set of half-square triangles.

Step 3b: Draw Lines and Sew
Draw a diagonal line on the back of one set, just like we did in Step 1. Sew ¼” on each side of the drawn line. I like to draw the 1/4” lines on both sides of the middle line, but that is optional. Repeat with the second set of half-square triangles.

Step 3c: Cut the Hourglass Blocks Apart
Once these are sewn, check to make sure they are lined up before cutting them apart. If they are not, use the seam ripper and take them apart and re-sew them. After sewing, set your seams. Next, cut on the middle drawn line on each set.

Step 3d: Press Hourglass Blocks
Press the hourglass blocks to one side (it doesn’t matter which side). You will have FOUR hourglass blocks! Now to trim them up!

Step 3e: Square The Blocks Up
We need to make sure the block measures 4.5” for this block. There are many ways to do this, with my favorite being the Bloc-Loc ruler. However, if you don’t have this, you can use the Trim Lock or even a regular quilting ruler, as shown here.
I put a piece of tape on the 45 degree angle, line up the center mark at the 2.25” mark and trim the right side and the top. Next, turn the block, line up the two trim sides on the 4.5” make and trim the final two sides. Repeat for all four of the hourglass blocks.
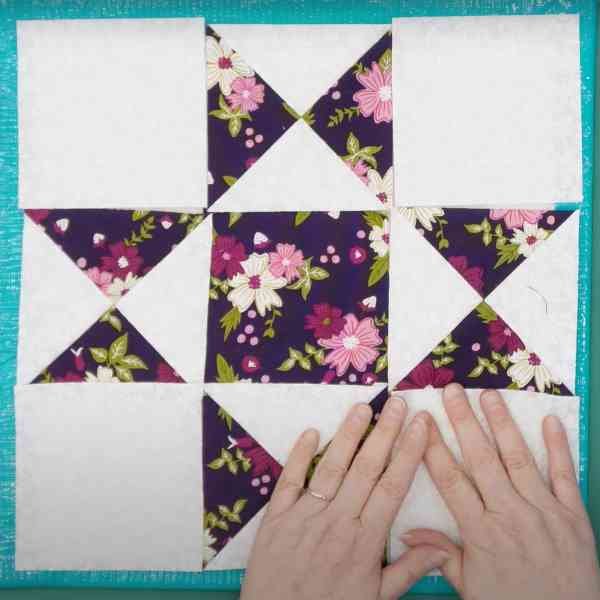
Step 4: Finish The Block
Layout the block and sew the rows together using a 1/4” seam allowance. Press seams towards the non-pieced blocks. This will allow the rows to nest when we sew them together.
Sew all three squares together to make three rows. Next, sew the rows together.
Set the seams and press the block well. Trim it up if needed. The block should measure 12.5” square unfinished (not in a quilt but in the block form).
I hope you enjoyed making this block!
Happy Quilting,
Kris