Snowflake Quilt: The Journey
Click HERE or on the image above to watch the video.
It all started back in January 2024. Yes, this project has been in the works THAT long. Can you believe it? I know I can’t. Anyway, I digress. It all started back then when Michelle from The Simple Quilter contacted me and asked if I would like to participate in a snowflake quilt challenge. Once I saw the pattern, I was in love! Of course I said YES! And so the journey began. She promptly sent me the pattern, which you can find here or at your local quilt shop.
I put the project in the back of my mind for many months. Sure, I had it on my calendar, and I knew it was a project I needed to work on, but it was in the back of my mind until I was cleaning out my desk and stumbled upon the pattern. Oddly, Michelle emailed me a reminder about that time. I guess it was meant to be. This was in early June 2024.
As many of you know, my journey in the quilting business started on YouTube. Being a YouTuber is my first love—it is where I am most comfortable. With that comfort comes familiarity. I know how to make videos, basically follow the same formula, and don’t usually break this. For this video, however, I wanted to try something different. Even as I write this blog entry, I am uncertain about my decision. Will this labor of love bomb? It may. After all, you can’t grow without trying new things, right? Right.
Soooooo, if you are still reading, this is where it gets interesting. After a lot of thought, I decided to make the video like a diary. Each time I worked on the quilt, I updated the footage. I thought it would be more manageable (it really wasn’t) and less stressful to record (it was—mostly). Without further ado, here are the diary entries with words and pictures. Of course, if you would like to watch the diary video (vlog, I suppose), it is linked HERE.

Picking The Fabric
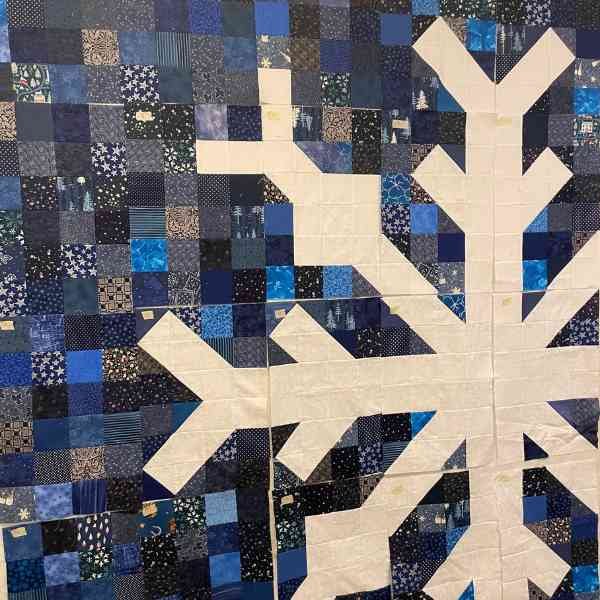
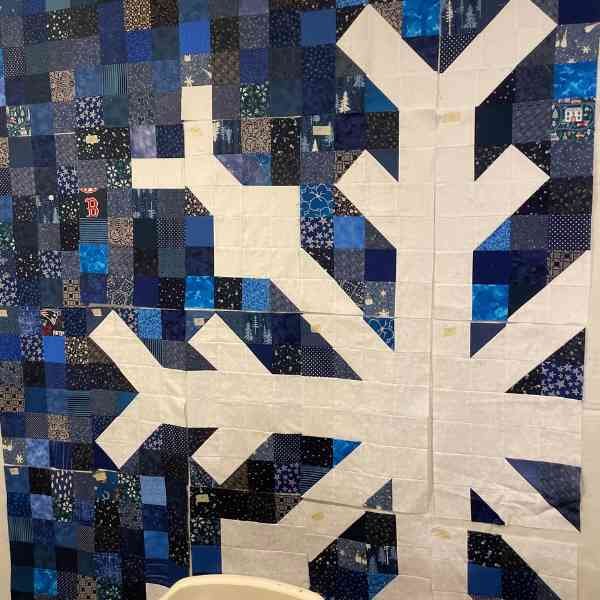
June 17, 2024: Day 1 After A LOT of thought, I decided to make the quilt with a navy blue background, and the snowflake out of light blues (I later change my mind about the light blues and went with a white. More on that later). Although I had a lot of blue fabrics, I felt like I didn’t have the variety I needed. That’s where my friend Gail helped out. Being a lover of all blue fabrics, she gave me a stack to include in the quilt.
Fallon from Sew Be It Quilts is also doing this collaboration with Michelle from The Simple Quilter. Fallon and I decided to exchange fabric. I made up a bundle for her and she made up a bundle for me. Off in the mail it went!
Happy Mail!
July 1, 2024, Day 15 The box of fabric from Fallon arrived! YAY! The fabrics are so pretty! Why are other people’s fabric so much more appealing than our own? That is a question to ponder!
Cutting and Prepping!
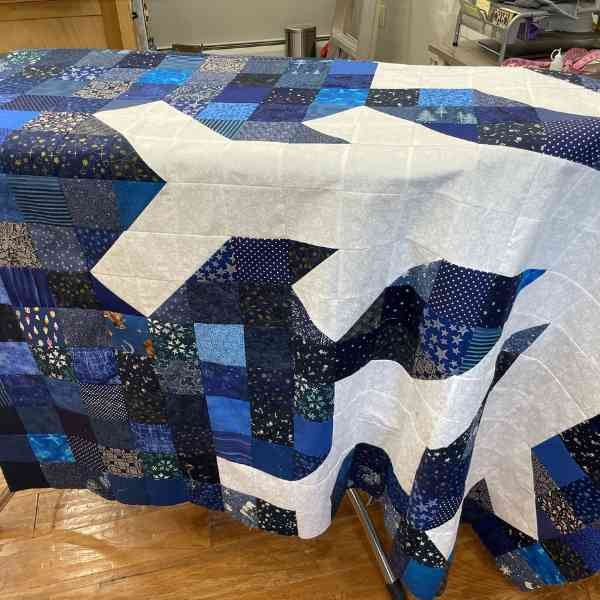
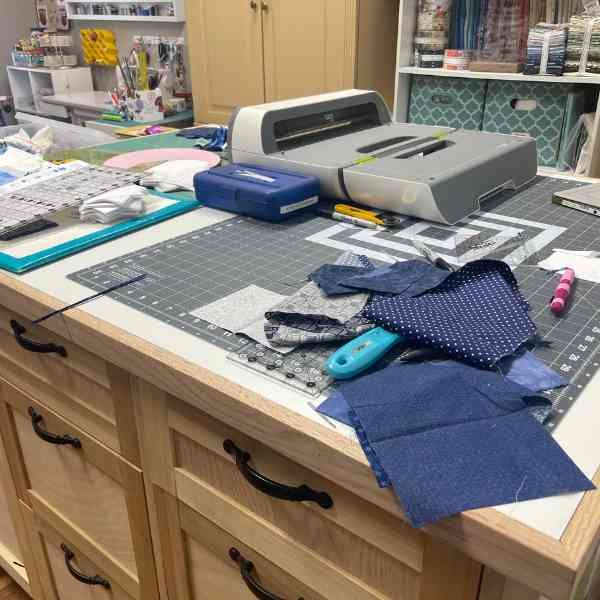
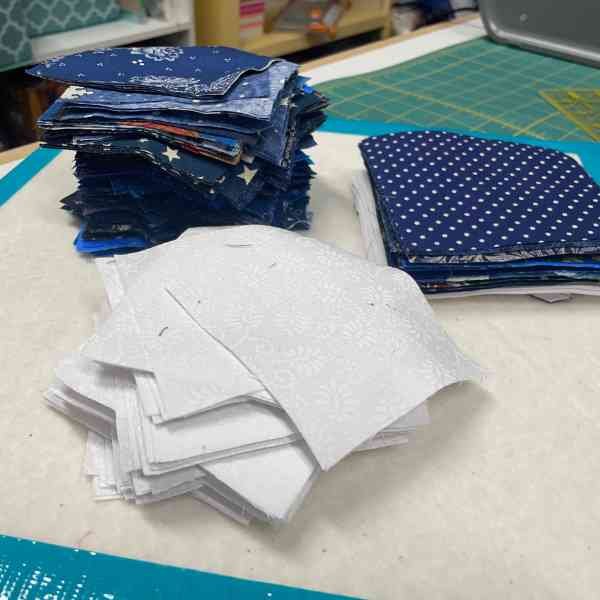
July 6, 2024, Day 20 After sorting through a lot of white on white fabric, I decided to make the snowflake out of the one fabric. When I am making scrap quilts, having everything scrappy can be fun, but for my own sanity, it can also be a bit much. It was a bit much for this project. I needed some kind of consistency, and one fabric for the snowflake was the key.
I also used this project as leaders and enders (coined by the great Bonnie Hunter). This is the perfect project for this! This should make the quilt components come together quilting, too. Woohoo!
Ready to Sew
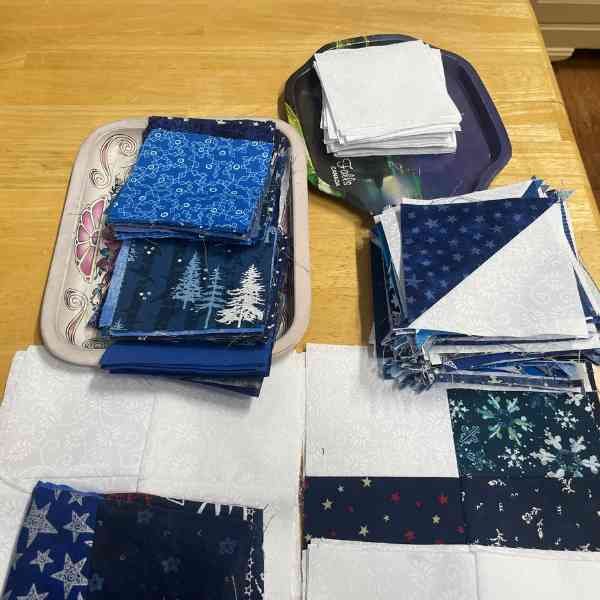
July 9, 2024, Day 23 All of the pieces are cut and the coloring sheets are made. Woohoo! I am well on my way! Now to sew and sew and sew. May the piece be with me (get it? 😀).
Making Progress
Aug. 1, 2024, Day 46 There are 20 blocks in all to make, and I have finished 16! Woohoo! That is the good news. Ready for the bad news? There are some fabrics in the blocks that I just don’t like. Well, I like the fabrics, but I don’t like them in this quilt. I am going to wait to see if I like them once they are all together on the design wall. We will see!
I made another mistake. I shouldn’t have cut all the white fabric into squares. The directions show how to not do this. What was I thinking? Hmmmm. I am also starting to think about the finishing of this quilt. Longarm? Cuddle fabric? Cotton fabric? Scrappy backing? It is starting to get real.
Decisions, Decisions!
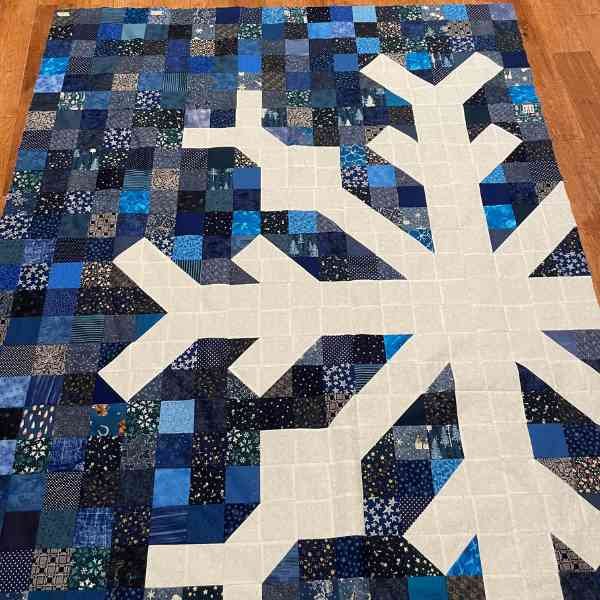
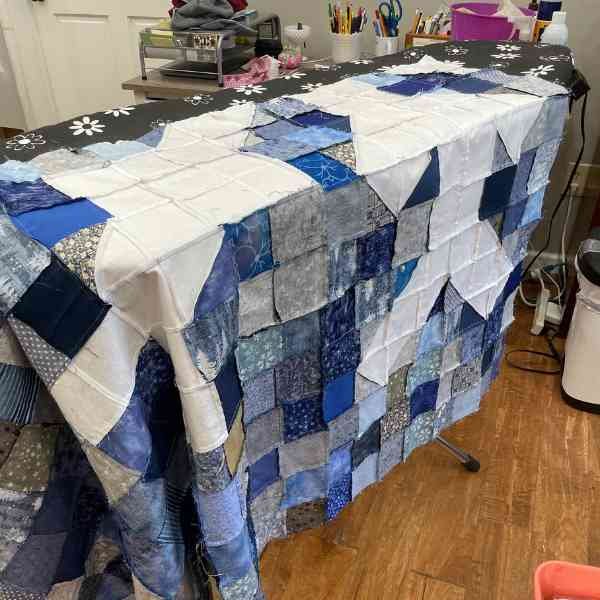
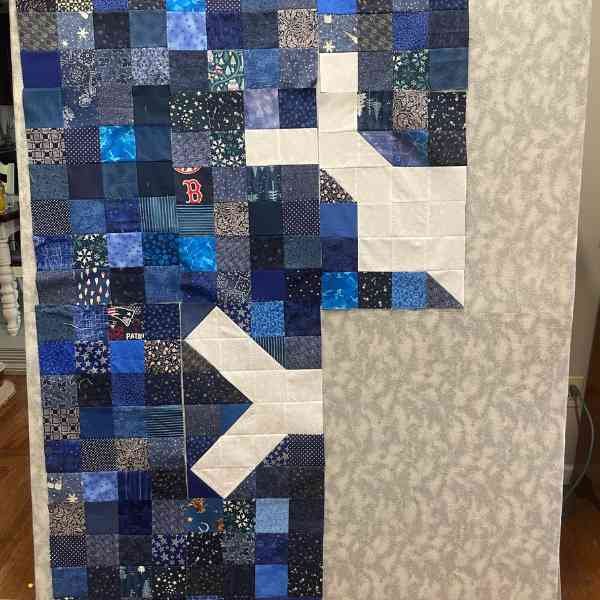
Aug. 21, 2024, Day 66 The blocks are all finished! I did end up taking out those few blocks that didn’t quite go together. Whomp, whomp. But I do like it more now! YAY! Because of the size, I had to hang a piece of batting on a wall in my basement and layout the blocks there. I am thrilled with how it looks!
I started to sew the rows together. Two rows are finished. I am running into some issues with the way the seams are pressed and wish I would have paid more attention to this as I constructed it. I should have either opened the seams or had a system in place. Oh well—live and learn. I had so much fun making this one! I am sure I will make another.
Quilt Top Finished!
Sept. 4, 2024, Day 80 THE QUILT IS TOGETHER! YAYYYYY! Today is the day I ordered the backing. I went with a pretty snowflake print. Because my dog needed surgery, I decided to save some money and quilt this one myself. Now to decide on a pattern.
The Backing
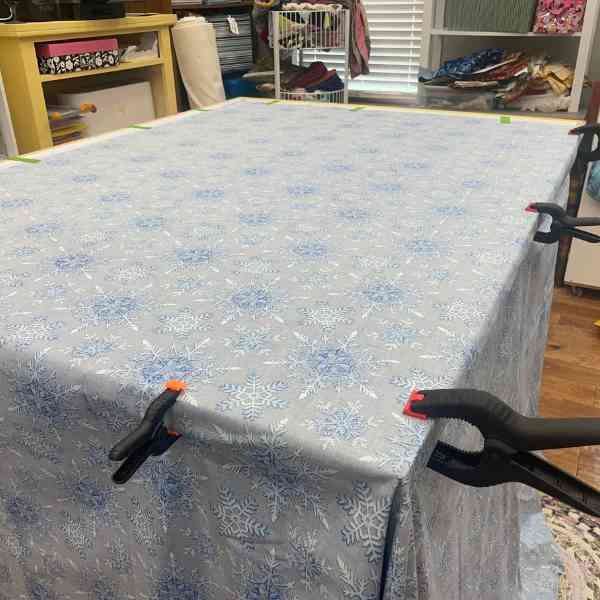
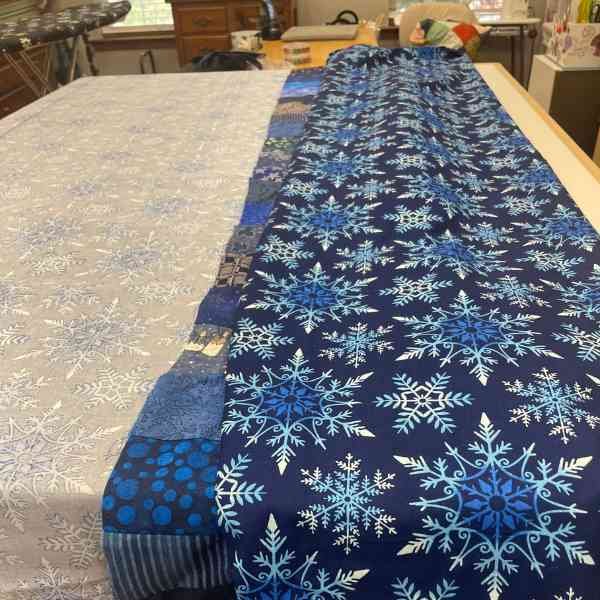
Sept. 5, 2024, Day 81 Isn’t this gorgeous? This fabric is 108” wide and is called Crystal Frost by Henry Glass. It is perfect for this quilt, don’t you think? I am loving the shades of blue, the snowflake motifs, and, of course, the size. No piecing! Perfect!
Let’s Sandwich the Quilt
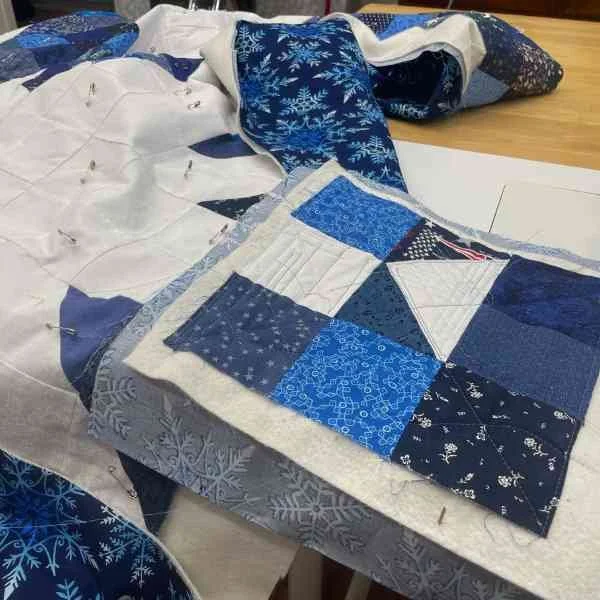
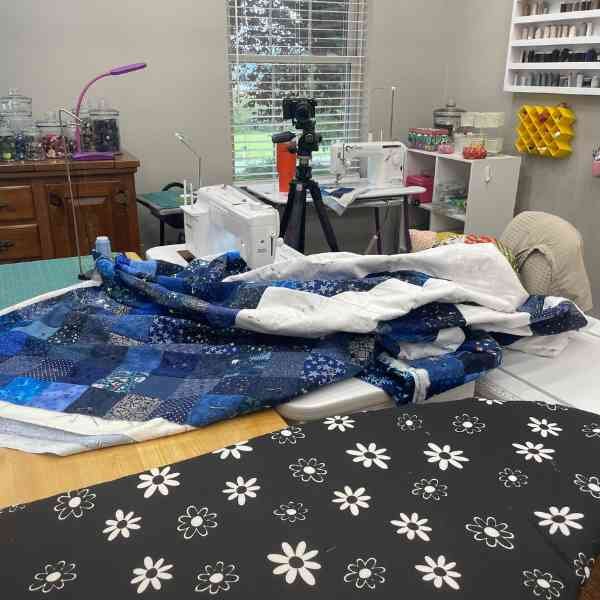
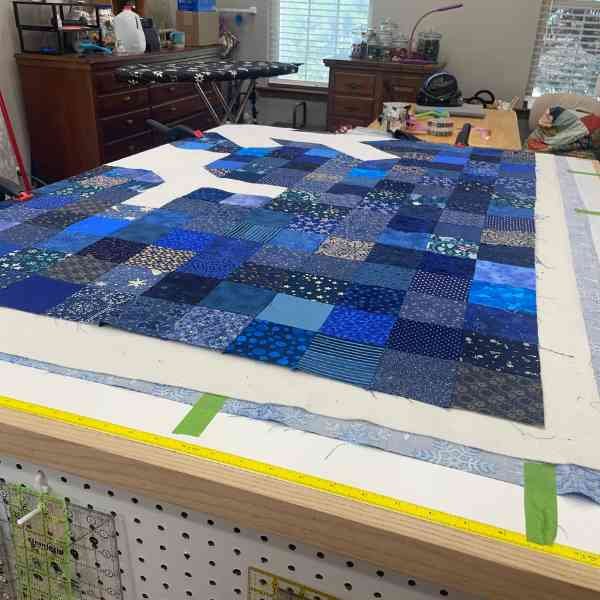
Sept. 21, 2024, Day 97 Time to baste! After pressing the fabric really well, I start the basting process by clamping and taping down the backing fabric, right side (or pretty side) facing down. Since the quilt is larger than the table I am using, I do this in sections. Some say to start in the middle, but I don’t do that. I usually start on a corner and adjust to the next section. The ultimate goal is to get it as flat as possible without puckers. This works well for me. The backing is at least 4” bigger on all sides. Since this quilt measures 60” x 72”, my backing needed to be 68” x 80” (four inches on each side). This will allow for shifting during the quilting process and is especially important if you are having your quilt longarmed. Make sure to check with your longarmer, however. They may require more overage.
Preparing to Baste
Sept. 21, 2024, Day 97 (Continued) There are so many different ways to prepare batting for a quilt and none of these are right or wrong (pinky promise!). If the batting is wrinkled at all, I like to toss it in the dryer on low for about ten minutes to get the wrinkles out. For this project, however, I am using batting that is on a roll, so it was already good and flat. I cut my batting to be about four inches bigger than the quilt top. Personally, I like seeing the backing and the batting to help ensure it is all lined up. After the backing section is secure, I layer the batting on top of the backing with the batting front facing up. If you are unsure of which side is the batting front, read the package. Batting usually stays in place pretty well, so I do not tape it, but I float it on top of the backing. It will get clamped in the next step.
Ready to Baste
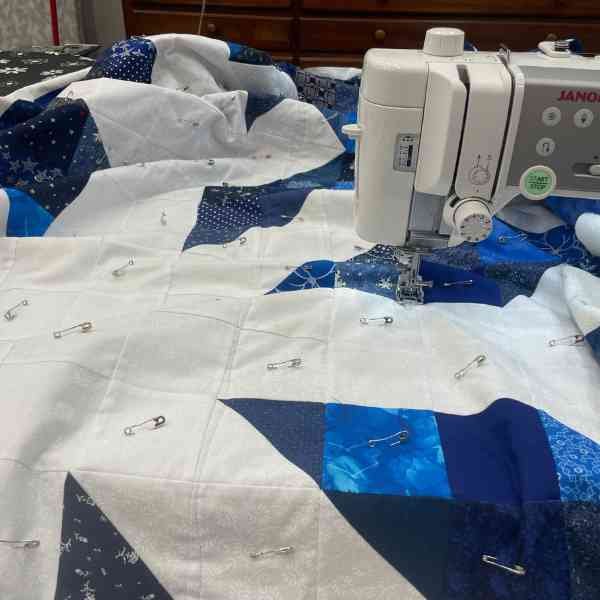
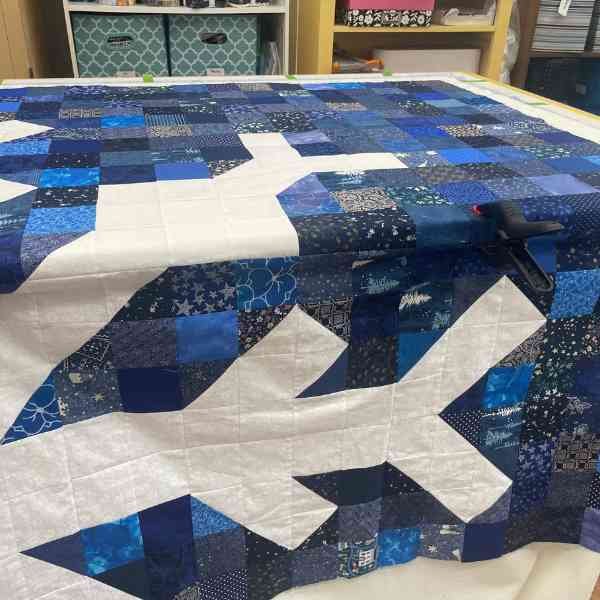
Sept. 21, 2024, Day 97 (Continued) After pressing the quilt top really well and clipping any loose threads, I place the wrong side of the quilt top down on the batting and clamp it do secure it in place before pin basting it. I like to smooth out all of these pesky wrinkles. Now it is time to baste! If you are using a basting spray, simply spray it in sections, taking your time to make sure each area is smooth. If you are using pins like me, work systematically in areas to pin it down. I like to pin a hand’s width apart. It is tedious but worth it!
Sample Block
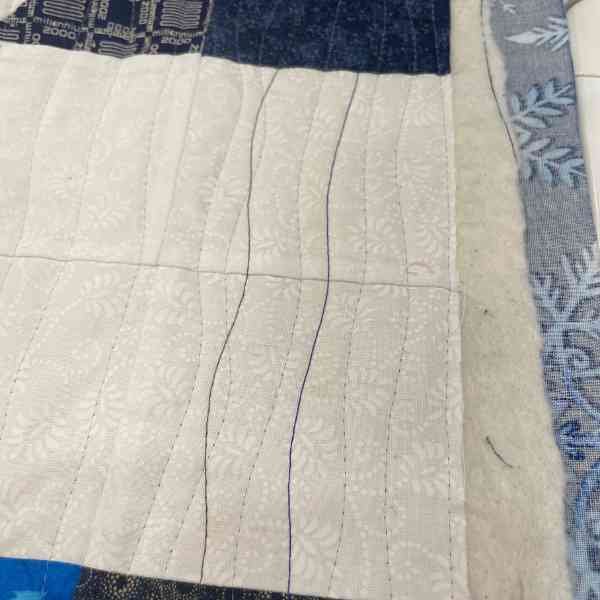
Sept. 22, 2024, Day 98It is time to quilt, but first, a sample block. When I am making a quilt, I love to make a sample block. One way to use that sample block is to practice your quilting for that project. This gives me a chance to test threads, designs, and determine the distance and method for the quilting process.
Let’s Quilt!
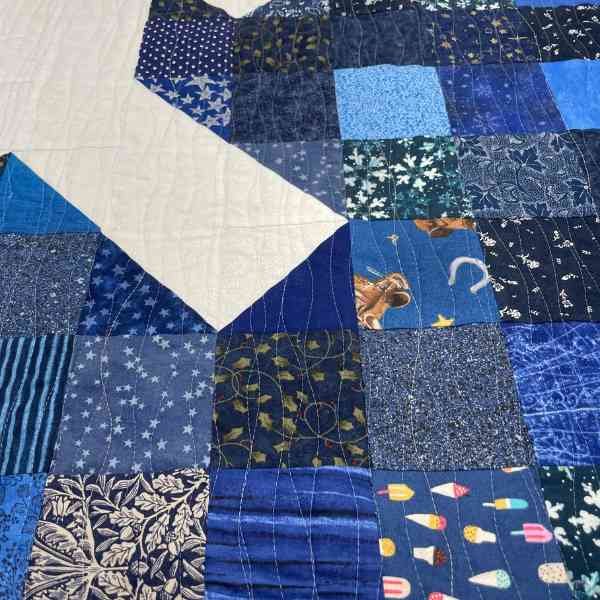
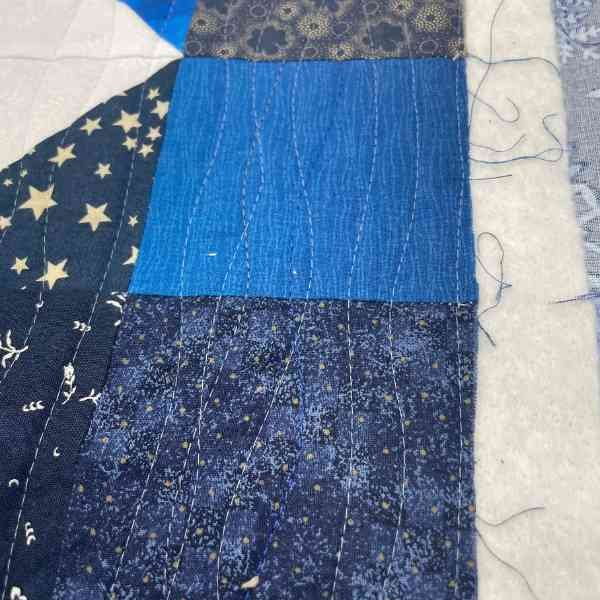
Sept. 22, 2024, Day 98 (Continued) Once I decided on a design (waves), I got to quilting! Using my walking foot for this one, I start by quilting lines about every three-four inches to secure the quilt and then fill in with other lines along the way. I didn’t measure or anything like that because I wanted organic waves in this project.
Pink or No Pink?
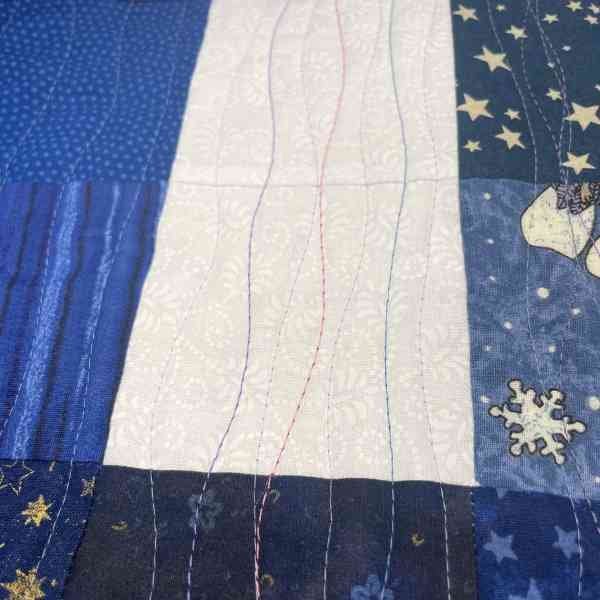
Sept. 22, 2024, Day 98 (Continued) Even though I did make a sample, I decided to try out some different color threads. I thought pink and purple would really highlight the quilt. Although it does look nice, I changed my mind and stuck with the light blue and some pops of silver metallic thread to give it sparkle, like glistening snow. I love how it turned out!
Making Waves
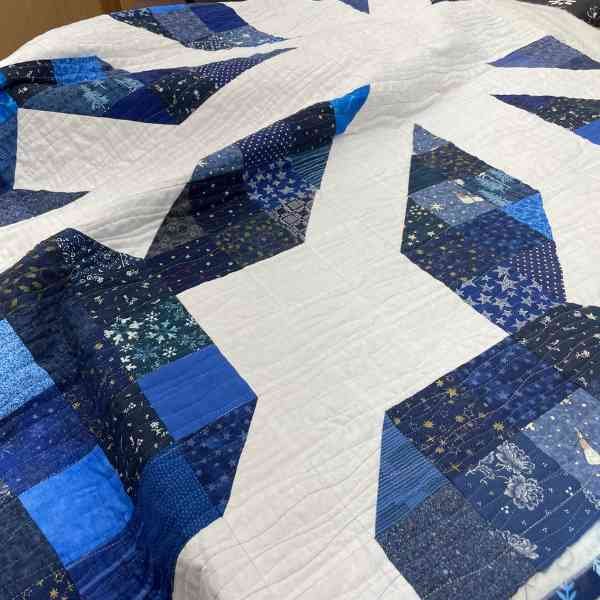
Sept. 22, 2024, Day 98 (Continued) This quilting design is perfect for this project! It gives those hard edges of all the blocks and half square triangles a softness that looks like wind to me. I also love the touches of silver. This is one of my favorite projects of all time!
Quilted Complete
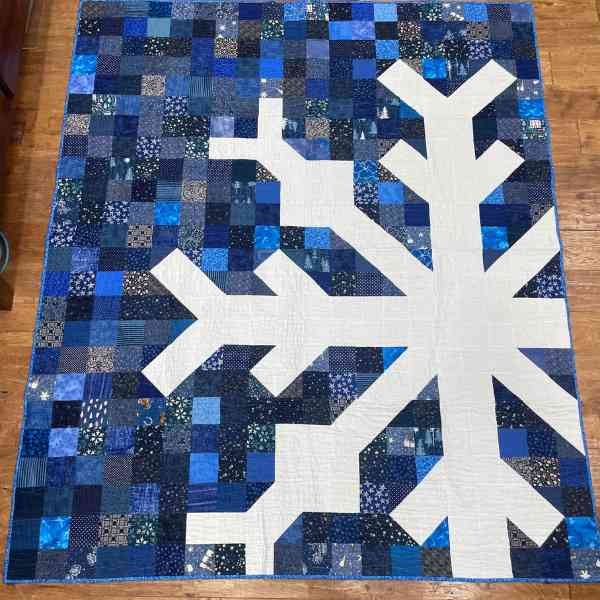
Sept. 22, 2024, Day 98 (Continued) Just look at that wonderful texture! OHHHH, my goodness! I want to make another and another and another! This was a fun one! Time to trim it up and bind it!
Time to Bind
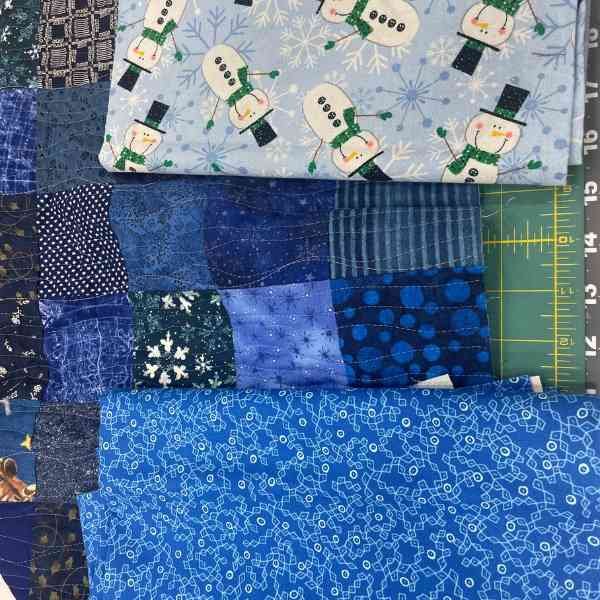
Sept 23, 2024, Day 99 It is time to bind this quilt, but with which fabric? I love the idea of using what I have, especially considering the entire quilt top is scrappy, so I pulled these two fabrics from my stash. I love the snowmen because of the silver sparkle in it, but I don’t love how light it is or the green scarves on the snowmen. I decided to go with the one on the bottom of the picture. It blends nicely with the blue scrappy fabric on the front and isn’t too dark or too light in color. It compliments it nicely!
It’s Finished!
All that is left is the label! YAY! I can’t wait to snuggle under this quilt this winter!
Let me know if you have any questions about this one!
Happy Quilting!
Kris


