Holiday Gift Bag
Reusable Holiday Gift Bags: A Festive and Eco-Friendly Alternative
The holiday season is a time of giving, joy, and celebration. But it’s also a time of excess, particularly when it comes to wrapping paper. Every year, millions of tons of gift wrap end up in landfills, contributing to environmental waste. But there’s a simple, creative, and festive solution to this problem: reusable holiday gift bags.
Click on the image above or HERE to watch the video tutorial.
Here are the supplies for this project.
Large Template Sizes:
Bell: 8.5” wide x 8” tall
Poinsettia: 8.5”wide x 8” tall
Holly Leaf: 4 3/8”wide x 8” tall
Cardinal: 8.5” wide x 8.25” tall
Box: 8.5” wide x 7” tall
Cap: 6.25” wide x 8” tall
Mitten: 6” wide x 7.25” tall
Tree: 7.5” wide x 8.5” tall
Sweater: 8.5” wide x 8” tall
This is the fabric line I used for the project. Isn't it pretty?
Let’s Make A Bag!
Prepare Appliqué Background
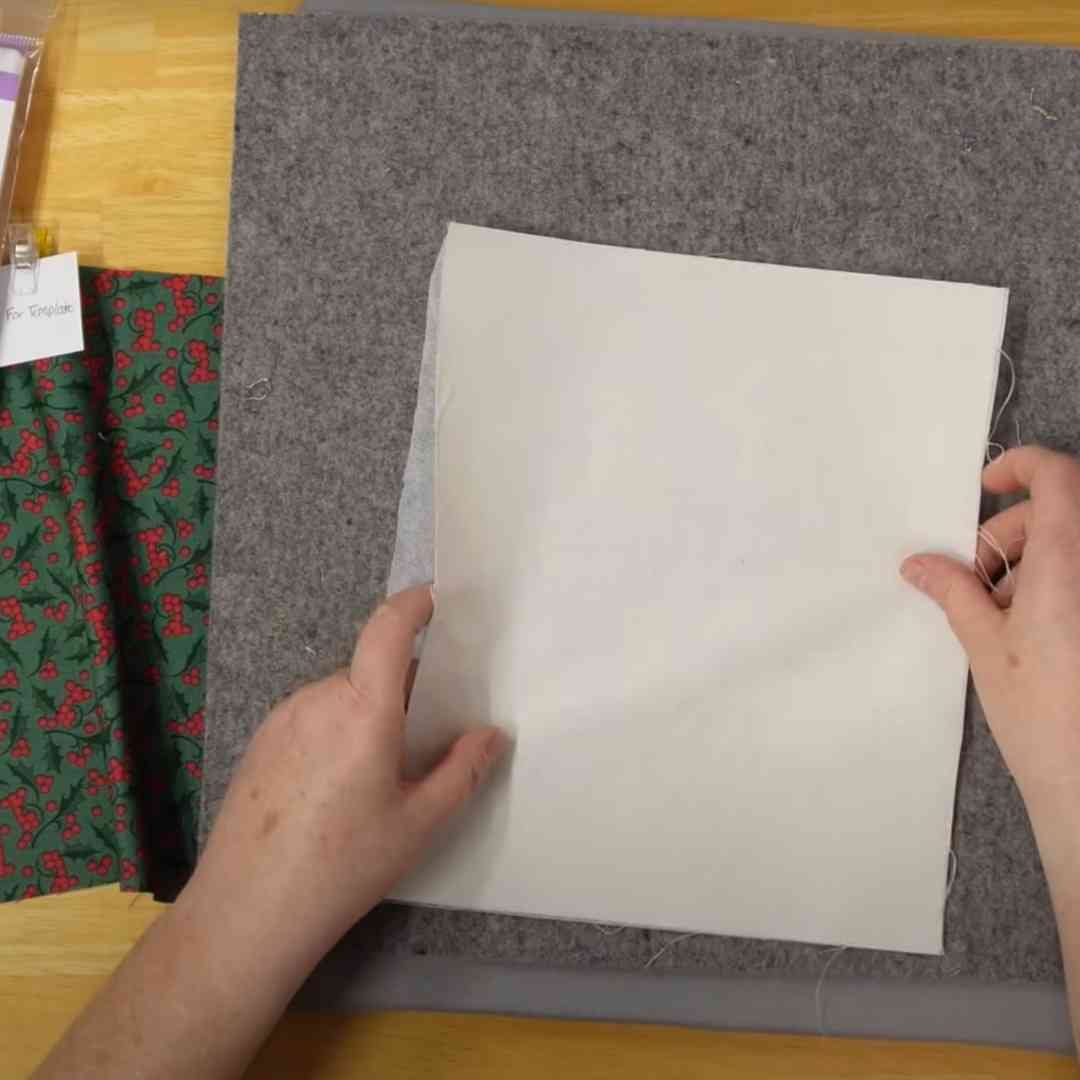
To stabilize the background of the applique square, add an interfacing. This will help ensure the applique lays nice and flat and the stitches remain even. I like to use a medium-weight heat and bond, but any medium-weight interfacing will work. To fuse the fabric to the interfacing, I like to use a piece of parchment paper to protect my iron. I use Reynold Sheets because they have writing on one side. This way I know which side is up and which is down. I will forget otherwise. :)
Prepare Appliqué
Prepare the appliqué by first drawing the appliqué shape on the back (smooth side) of a fusible web. Roughly cut out around the image (do not cut on the drawn lines—we will do that after it is fused to the fabric). Next, fuse it to the back of the appliqué fabric following the manufacturers directions. Once it is fused and cooled, cut out the shape on the drawn lines. Turn it over and fuse it to the center of the appliqué background.
Applique Motif
If desired, you can stitch around the applique to secure it to the background. I like to do this by machine, but you can do it by hand, if you’d like. I use a buttonhole stitch that is on my machine and thread that matches the applique.
Add Borders to the Front of the Bag
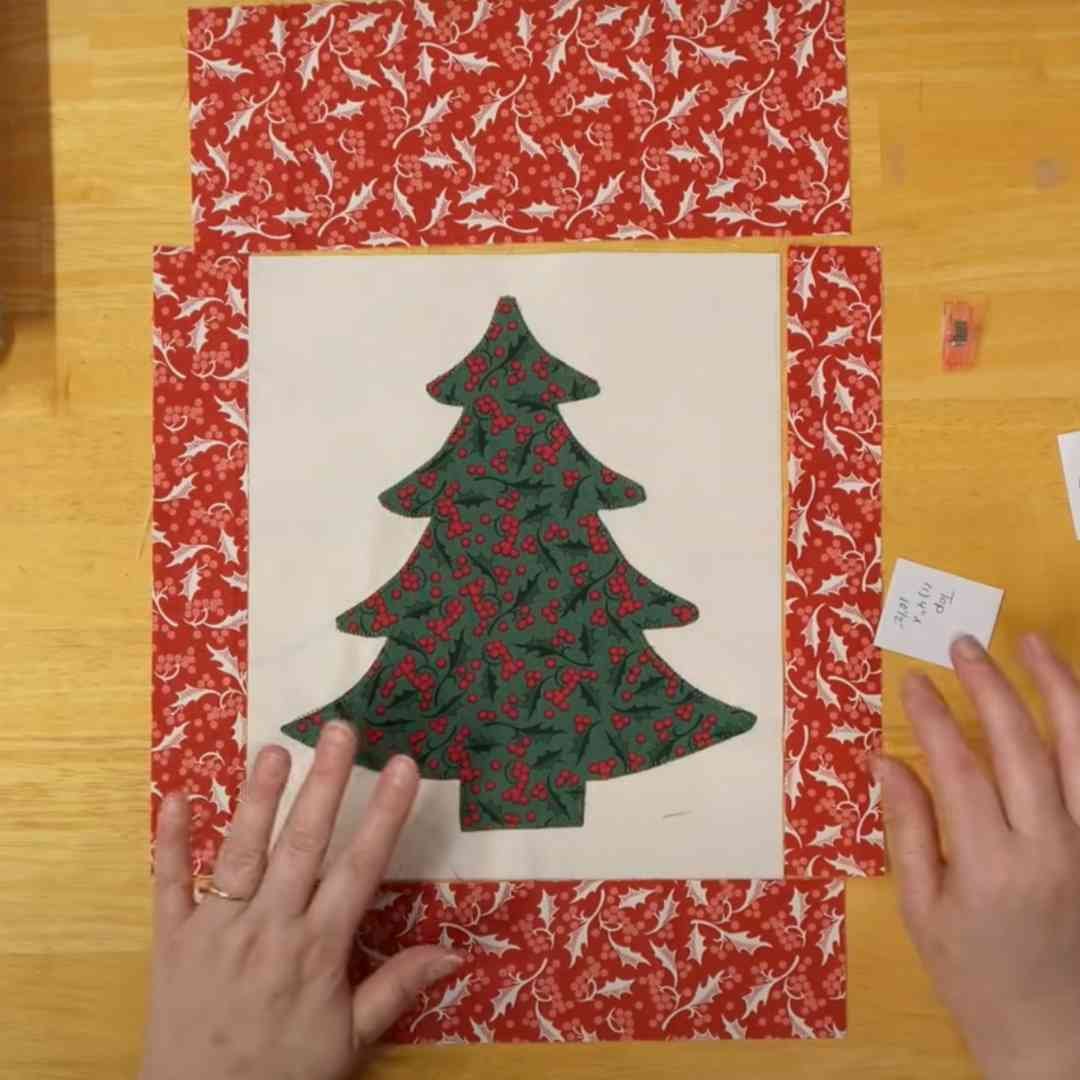
Sew the two side pieces to the sides of the appliqué unit. Press towards the strips of fabric. Next, sew the top and bottom strips to the top and bottom of the bag front. Press well.
Adding Batting to the Front & Back of Bag
Once the the front applique unit is finished, it is time to add the batting to the front and back of the bag. I like to use fusible fleece because it haves it a sturdy base and give the finished bag some body. You can use any batting, however, or none at all. That’s completely up to you. The same is true with quilting it. I like to quilt it some, but it is not required.
Optional: Add Ribbon to the Back
If you want to add an attached ribbon to the bag, this is when you would do that. Measure down 2.5” inches and mark it on the center top of the back of the bag. Fold the ribbon in half lengthwise and stitch it to the back of top of the bag using matching or coordinating thread.
Add Lining
To add the lining, layer one of the lining pieces with the front of the bag, right sides together. Stitch across the top of edge. Next, layer the other lining piece with the back of the bag, right sides together, and stitch across the top edge. Press one towards the outside of the bag and one towards the lining. This will help when finishing the construction of the bag because the edges will nest.
Putting It Together
Clip or pin around the perimeter of the bag. Stitch around the perimeter of the bag leaving a small opening for turning in the lining section of the bag.
To finish the bag, lay the front of the bag on a flat surface with the lining at one end and the front of the bag at the other. Next, place the back of the bag on top of the front, right sides together, making sure the lining is matched up with the lining and the front is matched with the back. Tip: IF you added ribbon, make sure the ribbon is out of the way when sewing!
Optional: Boxing the Corners
I like to box my corners, but again, this is optional. To do this, measure in the desired size and draw the square. For this size bag and because of the design of the bag, I like make my boxed corners 3/4” from the sewn line or, if you have a good seam allowance, 1” from the edge of the fabric. Mark all four corners and then cut out the notches by cutting on the drawn lines.
Stitch Boxed Corners
Next, working one corner at a time, pull apart the covers and match the edges of the corners, pushing the seams in opposite direction. Using a 1/4” seam allowance, sew on the edge. Repeat for the remaining corners of your bag.
Turning the Bag
Next, turn the bag through the opening left in the lining. Press the bag well. Push the lining into the inside of the bag. Press the top edge.
Almost Finished!
Once it is turned back around so the right sides are on the outside and all the seams are trimmed, give it a good press and push the lining to the inside of the bag. Top stitch around the top of the bag, stitch the turning hole closed and you are finished! YAY!
It’s Finished!
That’s it! You make a reusable gift bag! YAY!
Interested in making a bigger bag I showed? Here are the materials needed for that one:
Appliqué Fabric: 8.5” x 8.75” (I used the sweater template)
Appliqué Background Fabric: 9.25” x 10.75”
Side Pieces for Front: (2) 2.5” x 10.75”
Top Piece for Front: (1) 5.75” x 13.25”
Botton Piece for Front: (1) 3.5” x 13.25”
Ribbon (Optional): 40” long, depending on how big of a bow you’d like, etc.
Cut the Following the Same Size as the Front of Bag (approx. 13.25” x 19”):
Backing (1)
Fusibile Fleece (2)
Lining (2)
Boxed Corners: I made these 1.5” instead of 1”, but you can decide how big of a bottom you would like and adjust accordingly.
Happy Sewing!
Kris


